This guide is for readers searching for image to 3d help: it explains how to compare AI generators beyond sample renders, using one reference image and judging mesh, exports, failed runs, and preparation costs.
A sample render shows one view of a model; it does not show whether the downloaded file will work in a game engine or slicer. I compare generators with the same reference image, then judge the mesh, export options, failed-run policy and preparation costs against the job I need to finish.

The short version
- Give each generator the same challenging image, not its own showcase sample.
- Compare geometry-only and textured results separately. A single-color print does not need texture.
- Rotate the downloaded mesh to inspect its back, underside, openings and thin parts.
- Check the export available on your plan and the cost of making the file usable.
Build one fair reference test
Start with an image that resembles your real work. For a figurine, choose one with thin arms or layered clothing. For a prop, choose one whose back is partly hidden. A plain background and even light make errors easier to attribute to the generator; a three-quarter view gives it more information about depth than a flat front view.
The best AI 3D model generator comparison is a useful checklist for this test: it considers yearly and per-model cost, speed, failed runs, exports and print preparation, rather than judging sample renders alone.

The comparison page puts output and workflow costs alongside the model previews.
Keep the image constant for the initial run. Record any additional input options separately: SupaVoxel’s studio, for example, accepts up to four extra angles. Testing with one picture first, then with extra views, helps distinguish a stronger generator from a result that simply had better references.
Save the input, any prompt or mode you selected, and the downloaded file. Note the date too, so you can check plan details again before buying.
Record the run, not just the render
I keep a short log for each tool:
- Mode and time: Was the result geometry-only or textured, and how long did that mode take? SupaVoxel usually produces the untextured version in less than a minute; its textured version generally takes three to five minutes. Treat other vendors’ advertised speeds as claims, not measurements from your test.
- Failure policy: What happens to credits when generation fails? SupaVoxel returns credits automatically for failed generations. Hitem3D returns them for system failures; Rodin offers a preview before credits are spent.
- Download: Which file did you actually get, and does your intended plan permit that export? A preview cannot substitute for the STL, 3MF or game asset you need.
- Mesh condition: Are surfaces missing? Are there floating fragments, folded areas or features too thin for the destination?
- Fit for purpose: A render, an animated character and a printed figurine do not pass the same test.
When the decision matters, run the same reference three times. A single result may be unusually good or bad. Look instead for recurring defects, especially where the source image leaves geometry hidden.
Judge the usable mesh from every angle
The front view tells you whether the visible silhouette resembles the picture. Rotate the file before scoring it. Image-to-3D systems must infer surfaces the camera never saw, and an attractive front can conceal a flattened back or an open underside.
I inspect these areas in particular:
- Back and underside: A simplified rear may suit a wall-mounted piece, but not a rotating game prop or freestanding print.
- Thin parts: Fingers, straps and antennae may disappear in a slicer or bend poorly when rigged.
- Intersections: Hair, clothing and held objects can fuse with the body, making later separation difficult.
- Texture seams: Color may stretch across geometry inferred from the unseen side.
- Openings: Check whether a dark recess is geometry, texture or a hole.
For printing, the surface needs to enclose a solid. In a manifold mesh, each edge belongs to exactly two faces; holes and self-intersections can cause missing walls or failed slicing. Flipped normals and stray geometry also deserve inspection. Repair can address mesh faults, but it cannot recreate a finger that generation omitted.
Check scale in the slicer as well. STL contains no units, so a sound-looking file can import at an unexpected size. Confirm its height in millimetres before deciding whether its detail is printable.
Match the test to the final job
A generator should pass the requirements of your project, not win a beauty contest. For a single-color STL print, texture is discarded by the slicer; geometry is what matters. Textured output earns its cost for games, renders or a workflow that converts texture into filament-color regions.
Animation calls for a different inspection. Look at the shoulders, elbows and hips, then see how the mesh behaves when posed. SupaVoxel’s AI pose changer describes a route from character image to 3D model, rig and repeatable poses. It is useful when you need to test the same character in motion rather than assess a still image.
Start a rigging test from a neutral A-pose or T-pose with limbs clear of the torso. An action pose can hide joints from an auto-rigger. Watch for a cape, hood or weapon fused to the body: it may look convincing when still, then follow the wrong bone.
For a game, verify the export and texture information your project requires. For a print, favor closed geometry and sufficient wall thickness. For a part that must fit another object, use measured CAD rather than assuming a shape reconstructed from a photo has exact dimensions.
Check exports and print readiness separately
Open the downloaded file in the software that will use it. A web preview can look fine while the slicer reports missing surfaces or produces gaps.
With a 0.4 mm FDM nozzle, a thin feature needs roughly 0.8 mm of width—about twice the nozzle diameter—to stand a reasonable chance of printing. Scaling can enlarge existing features, but it will not recover details absent from the mesh.
The best AI for 3D printing ranking focuses on this handoff: closed meshes, STL and color 3MF exports, and the preparation steps needed before printing.
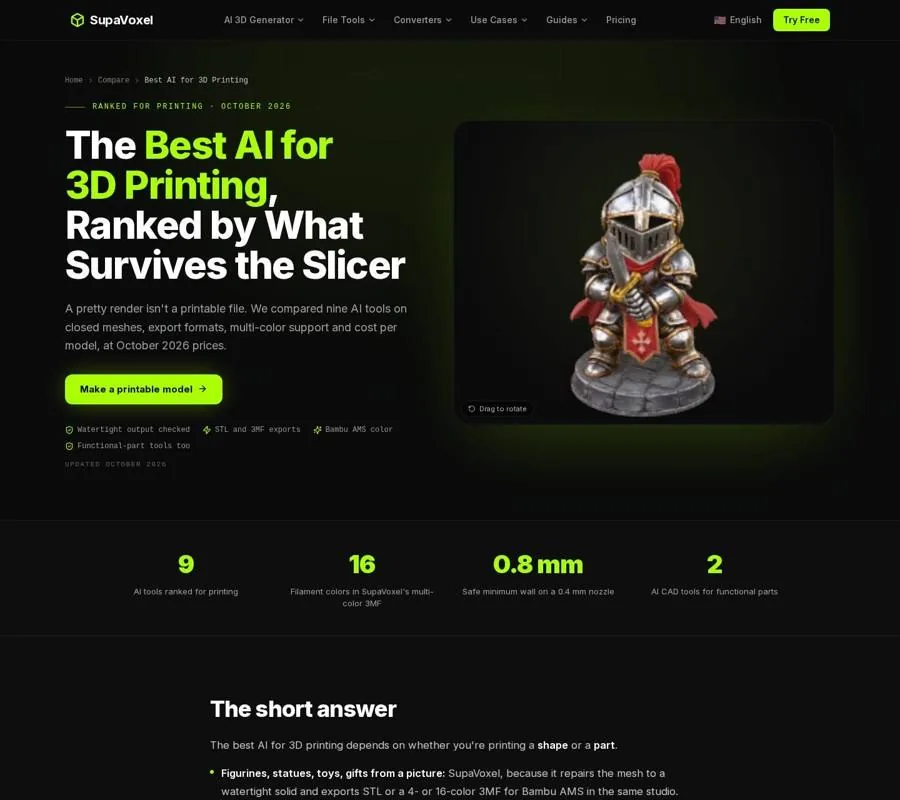
The print-focused comparison checks the file and its preparation path, not just the rendered object.
For each candidate, ask whether you can export the required format on your plan. Then check whether repair yields a closed solid, whether a figurine needs a base, and whether a large print needs cuts and alignment pins. If you need multiple filament colors, confirm that the 3MF contains usable color regions rather than assuming a textured preview is enough.
SupaVoxel offers STL, OBJ and 3MF exports on paid plans; its free-tier download is GLB. From $25 a year, its paid plans include mesh repair, stand bases, cuts with pins, molds and 3MF output with four or sixteen filament colors. Those preparation operations do not consume additional credits.
Add cost after quality
Price cannot rescue a file that fails its destination. First label each result usable, usable after repair or unsuitable. Then calculate what a usable result costs on the plan that provides the export you need.
The 3D model pricing guide separates subscription price from cost per model and compares AI generation with stock and freelance work. SupaVoxel’s Hobbyist plan costs $25 for the year and provides 400 credits. A geometry-only generation uses one credit, or about $0.06 on that plan; a textured one uses three, or about $0.19.

The pricing guide distinguishes a plan’s bill from what each finished model costs.
My worksheet records the input, mode, time, export, mesh condition, failure policy and preparation charges. I add the plan price only after deciding which files meet the task. That prevents a cheap but unusable result from winning.
Finish with print-prep charges
The last comparison is what must happen between download and slicing. Repair may close holes; a base can stabilize a figure; a cut can divide a large object; color preparation can turn texture into filament regions. Record both the available steps and their credit charges.
Hi3D charges 20 credits to split a model for printing and 10 to prepare multiple colors. Magic3D charges 10 credits apiece for repair, splitting and a 3MF file. Neural4D charges 30 for multicolor and 40 for a part split. SupaVoxel’s corresponding studio preparation features are included in every paid plan starting at $25 a year, without an additional credit charge for each step.
The winner is the tool that delivers a file you can use, with a preparation path you understand—not necessarily the one with the strongest front-view render.
FAQ
Should I use the same image for every generator?
Yes. Keep the reference and intended destination constant. If a tool accepts extra views, test them separately and record that you supplied more information.
Is a textured model always better than a geometry-only model?
No. A single-color STL print needs the shape, not the texture. Texture matters when the destination uses it, such as a game asset, render or multi-color print workflow.
What should I do when a model looks good but will not slice?
Check its imported scale, then inspect for holes, reversed faces, intersecting surfaces and thin walls. Repair the mesh and verify that the resulting file encloses a solid before printing.